 NexSms官方博客
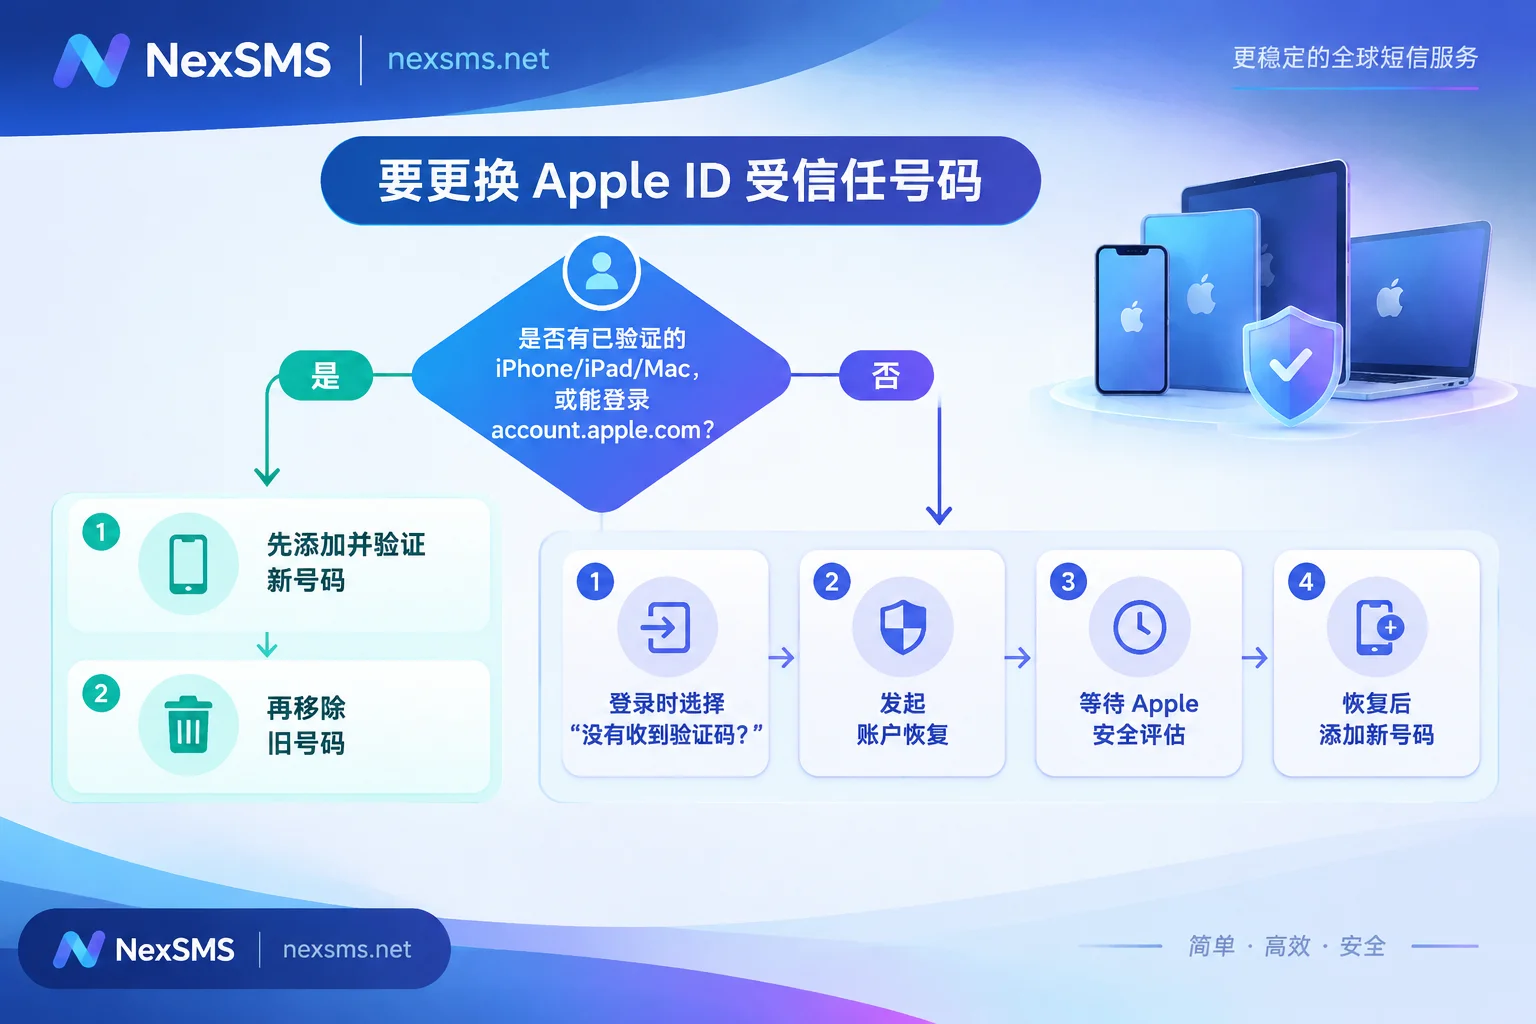
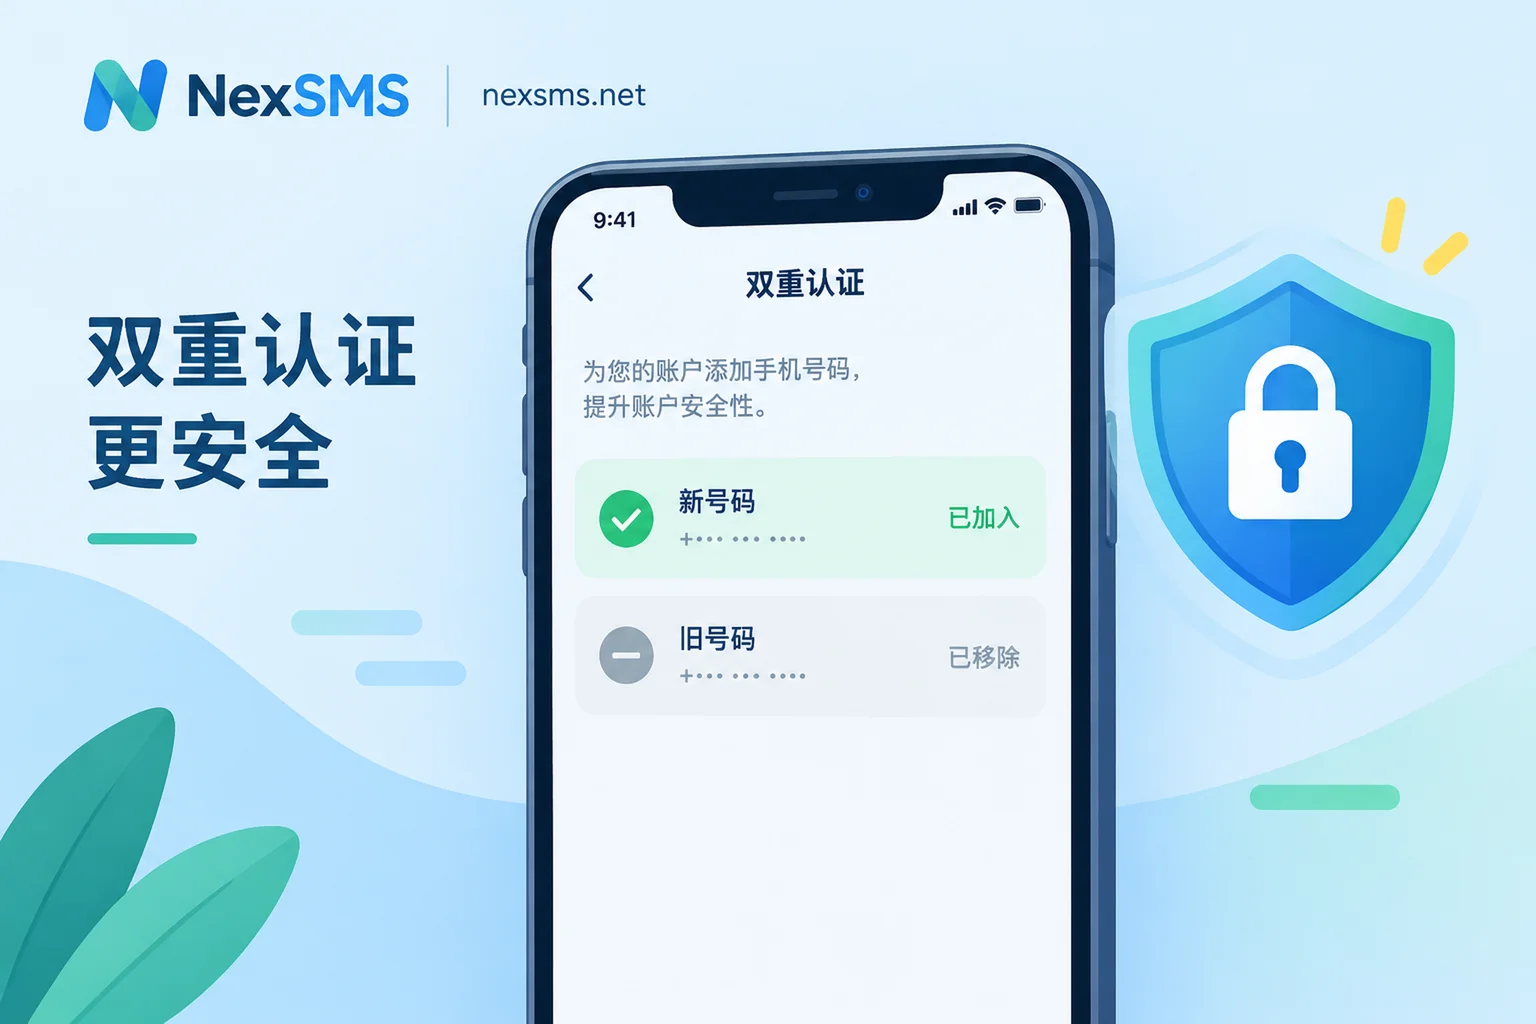
Conclusion first: To change the two-factor authentication number for your Apple ID (now called Apple Account), add and verify the new number first, then remove the old one. As long as you still have an iPhone, iPad, or Mac logged into this account, or you can still log in on the web, you can complete the change in minutes.
If the old number is already disabled and you don't have any device still logged in, the normal settings path won't work. You'll need to initiate Apple's "Account Recovery" process.
Let's break it down by situation.
Confirm Two Things Before You Start
1. Can you still access your account settings?
If any of the following conditions are met, you can change the number using the regular steps:
- You have an iPhone, iPad, or Mac logged into this Apple Account;
- You can log in to account.apple.com in a browser and receive verification codes (either the old number still works, or a trusted device can receive the pop-up).
If neither condition is met, skip to the later section "Old Number Disabled and No Logged-In Devices".
2. Will the new number be able to receive SMS in the long term?
The trusted phone number isn't just used once. In the future, when you sign in on a new device, reset your password, or change important security settings, Apple may send verification codes to this number again. If the new number becomes invalid in a few days, you're setting yourself up for a locked account. See the recommendations at the end of this article.
Change Number on iPhone or iPad
- Open "Settings" and tap your name at the top.
- Go to "Sign-In & Security" and tap "Two-Factor Authentication".
- In the phone number list, tap "Add Trusted Phone Number".
- Select the country/region code, enter the new number, and choose to receive codes via text message or voice call.
- Enter the verification code you receive to complete verification.
- Confirm the new number appears in the list, then tap the old number and remove it.
Change Number on Mac
- Choose Apple menu > "System Settings" and click your name at the top of the sidebar.
- Go to "Sign-In & Security" > "Two-Factor Authentication".
- Under "Verify with", click "Add Trusted Phone Number".
- Enter your Mac login password or account password when prompted, then enter the new number.
- Enter the verification code sent to the new number to complete adding it.
- Click the old number and choose "Remove from Account".
Change Number on the Web
If you don't have an Apple device but can log in from a computer browser, you can use the web:
- Go to account.apple.com and sign in to your Apple Account.
- Go to "Sign-In and Security" > "Account Security".
- In the "Trusted Phone Numbers" section, click "+" to add a new phone number and complete verification.
- After successful verification, delete the old number that no longer works.
Note that logging in to the web itself requires a two-factor authentication code. The code will be sent to a trusted device or to the old number. If neither is available, you can't log in to the web either, and you'll need to use Account Recovery.
Why You Can't Delete the Old Number
For accounts with two-factor authentication enabled, you must always keep at least one trusted phone number. If there's only one number in the list, the system won't allow you to delete it. This is why you "add first, then remove": only after the new number is verified and appears in the list can the old number be removed.
An optional approach is to keep two trusted numbers long-term, such as your primary number plus a backup. If one becomes disabled, you can still receive codes on the other, avoiding being stuck in a "can't delete, can't change" situation.
Old Number Disabled and No Logged-In Devices
In this case, the number change entry in Settings won't work. You'll need to go through Apple's official Account Recovery process:
- When asked for a verification code at the login screen, choose "Didn't get a verification code?" or options like "Can't access a device" or "Can't use this number".
- Follow the prompts to initiate Account Recovery and provide a new contact method that you can currently receive messages on.
- Wait for Apple to complete the security evaluation. Follow Apple's notifications during the waiting period. The exact time required depends on what Apple tells you.
- Once you regain access, promptly add your new trusted number following the steps above.
One exception to note: If you have set up a recovery key or enabled Advanced Data Protection for your account, the recovery rules may differ. If you lose your recovery key, trusted numbers, and trusted devices all at once, the account may no longer be recoverable via Account Recovery. If you use such settings, please first check Apple's support pages for your specific configuration to confirm what options are available.
How to Choose a New Number So You Won't Get Stuck Again
Prefer a phone number that you personally hold long-term. It's the most stable and easiest to replace with your carrier if issues arise.
If you need an overseas number as a trusted number, for example, if your account region is overseas and a local number is inconvenient, note the following:
- Don't use one-time or short-term temporary numbers. They expire after one verification. When Apple asks for verification next time, you won't receive the code and may risk being locked out.
- Pay attention to the line type. Some virtual numbers may be rejected when adding or may not receive Apple's SMS. See Can an overseas Apple ID use a virtual number.
- Must be able to hold long-term and receive codes continuously. This is more important than price.
If you decide to use an online number, NexSMS offers two types with different use cases:
- Short-term regular numbers: Used once for verification, suitable for one-time scenarios, not for Apple trusted numbers.
- Long-term premium numbers: Real carrier native numbers (physical SIM or eSIM) that can receive unlimited codes during the validity period and can be renewed. These better meet the need for a trusted number that will receive codes again in the future.
Two things to know in advance:
- Long-term numbers must be renewed before expiration to continue holding them. After expiration, the number is no longer yours, and you won't receive Apple's verification codes.
- Whether a number is accepted by Apple and can smoothly receive verification codes depends on Apple's current rules and cannot be guaranteed in advance.
The differences between the two types and renewal conditions can be found on the Number Types Explanation Page. After selecting a country, you can pick a number on the corresponding country page, for example, US Numbers.
Errors When Adding or Not Receiving Verification Codes
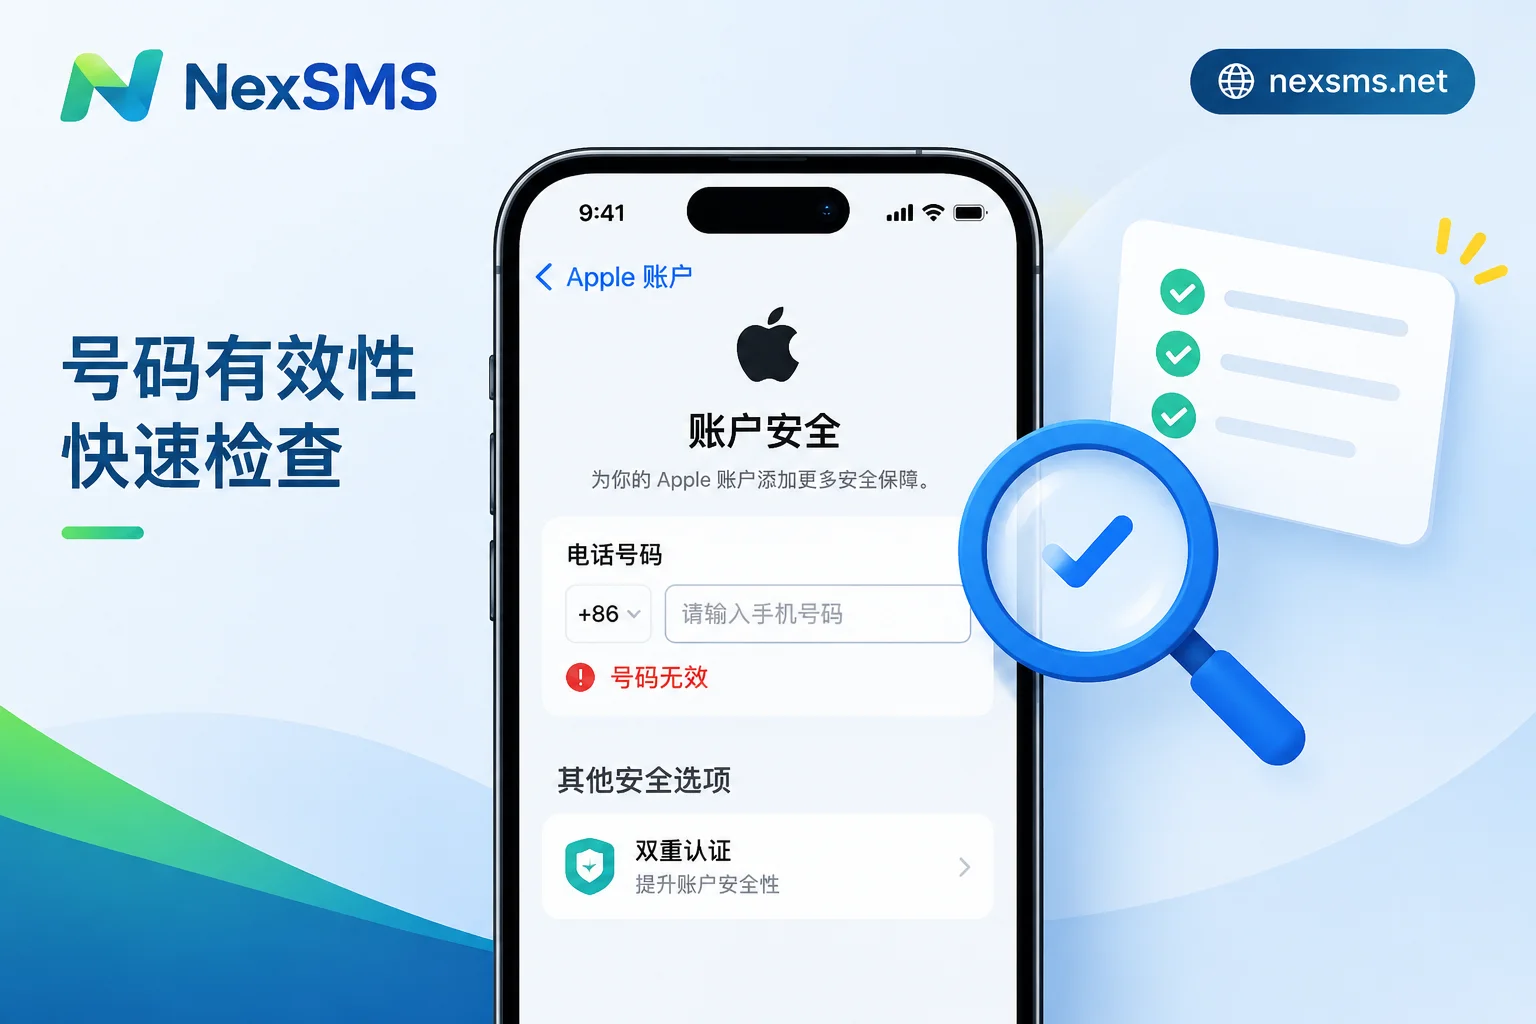
- If adding a new number fails or says "invalid number": first determine the cause based on the error message. Refer to Apple ID failed to add trusted phone number.
- If the new number never receives the verification code: try switching to voice call first, then troubleshoot step by step. Refer to Apple ID change to overseas phone number not receiving verification code.
After successfully changing the number, it's recommended to try logging in on another device to confirm the new number can receive verification codes normally before disposing of the old SIM card.


Comments(0)